How to Use Silver Foil Paper for Stunning Crafts?
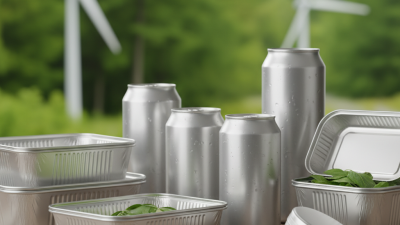
Crafting with silver foil paper has gained popularity in recent years. According to industry reports, the craft supplies market is expected to reach $50 billion by 2025, with a significant segment coming from metallic materials like silver foil. This versatile medium adds elegance and shine to various projects, appealing to both amateur and professional crafters.
Many artists leverage silver foil paper for its unique finish. Its reflective surface can transform ordinary crafts into eye-catching masterpieces. However, working with this delicate material can be challenging. Some may struggle with the adhesion process, leading to frustrating results. Recognizing these hurdles is crucial for improvement.
Utilizing silver foil paper requires patience and practice. Mistakes often happen, such as bubbles or uneven application. These moments offer valuable learning experiences for crafters. Embracing imperfections can lead to creative breakthroughs, ultimately enhancing artistic skills. The journey of mastering silver foil paper is filled with both triumphs and setbacks.
Understanding the Properties of Silver Foil Paper for Crafts
Silver foil paper is a versatile material that can elevate any craft project. Its reflective surface creates a stunning visual effect, perfect for cards, decorations, and scrapbooking. The thickness of the foil affects its durability. Thinner foil is easier to manipulate but can tear easily, while thicker sheets are sturdier but less flexible. Understanding these properties is vital for successful crafting.
When working with silver foil, consider its adhesive qualities. It can stick well to various surfaces, but using the right glue is crucial. Some adhesives may cause the foil to wrinkle or lose its shine. Experiment with different techniques to discover what works best for you. Using a glue stick for precise application might be a game changer.
Remember, practice makes perfect. You might encounter frustrating moments when the foil doesn’t behave as expected. That’s okay! Embrace these challenges as opportunities to learn and innovate. Each craft can take on a unique look through trial and error. This aspect of crafting can be incredibly rewarding, leading to unexpected designs and discoveries. Enjoy the process, and let your creativity shine.
Essential Tools and Materials Required for Silver Foil Craft Projects
Silver foil paper can elevate your craft projects, adding a touch of elegance. To start, gather some essential tools and materials. A good pair of scissors is crucial. You’ll need a craft knife for precise cuts. A ruler can help create straight lines. Don't forget a cutting mat to protect your surfaces.
Adhesives play a key role too. A glue stick works well for most projects. For more durable bonds, consider spray adhesive. You might also want to try double-sided tape for easy application. It's handy for attaching silver foil to various surfaces. Always have a craft brush on hand. It helps apply adhesive evenly.
Experimenting with silver foil can be tricky. Sometimes, it doesn’t stick as expected. You may notice bubbles or uneven application. In these moments, take a step back. Reflect on your approach. Maybe your adhesive choice needs adjustment. Crafting is about learning through trial and error. Embrace the imperfections of your creations. Each flaw can lead to unique results.
Silver Foil Craft Popularity in Various Projects
Step-by-Step Techniques for Applying Silver Foil to Various Surfaces
Silver foil paper can elevate any craft project. Applying it requires practice and patience. Start with a clean surface. Dust off any debris that could interfere.
For paper crafts, use adhesive glue. Apply it where you want the foil. Press the foil onto the glue, shiny side up. You might see wrinkles or uneven patches. Don’t worry; this adds character.
On fabric, use a specific adhesive for textiles. Iron the foil while covering it with parchment paper. Be careful—too much heat can ruin it. Sometimes, the foil won't adhere perfectly. This is a chance to embrace imperfections.
Tip: Always start with small sections. This makes it easier to manage. The foil can tear easily. If that happens, patch it with smaller pieces for a layered effect. Enjoy the process, and make adjustments as needed.
Creative Ideas for Using Silver Foil Paper in Home Decor and Gifts
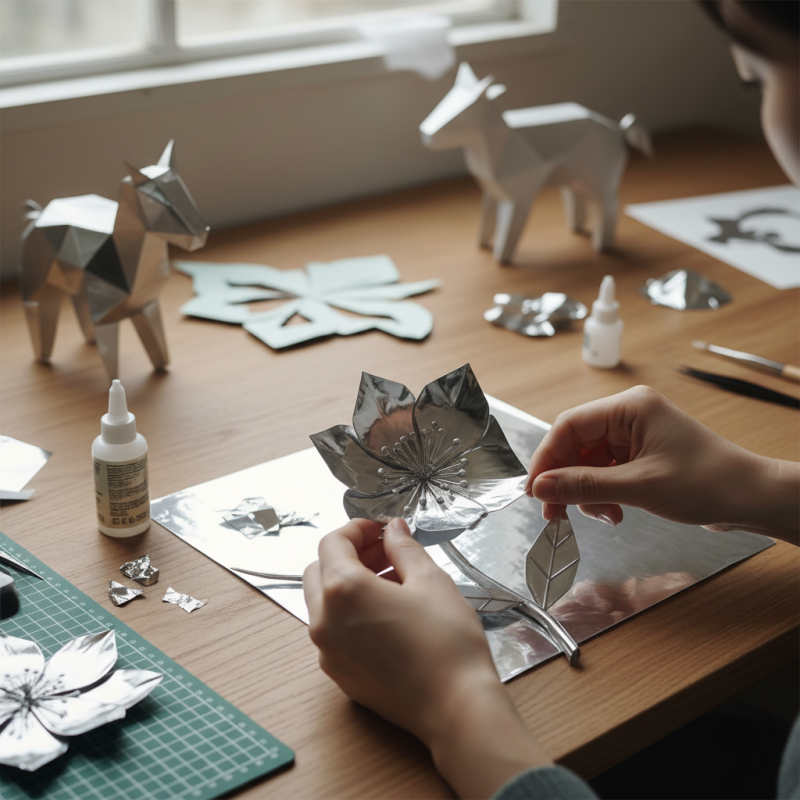
Silver foil paper can elevate your home decor and gift-giving with its shimmer and shine. One popular idea is to create unique wall art. Simply cut the foil into various shapes and arrange them on a canvas. This can capture light beautifully and add a modern touch. Experiment with different colors of paint as a backdrop to highlight the foil’s reflective quality.
Another creative use for silver foil paper is in gift wrapping. Plain brown paper can be transformed by strategically placing small foil accents. This adds an unexpected element that delights recipients. You can also create custom greeting cards. Folding the foil paper and gluing it onto thicker card stock makes for an eye-catching design. Sometimes the foil tears or wrinkles, but this can add character. Embrace these imperfections; they tell a story of creativity.
Tips for Achieving Professional-Looking Results with Silver Foil Crafts
Silver foil paper can elevate your crafts to a new level. Its shiny surface adds a luxurious touch. However, working with it can be tricky. Here are some tips to achieve professional-looking results.
Start with clean surfaces. Dust and smudges can ruin the effect. Use a lint-free cloth to wipe your crafting area. When applying, ensure the glue is evenly spread. Uneven glue will lead to unsightly bumps. Don’t rush this step. Every detail matters.
Another important tip is to use a soft brush for applying the foil. It helps to smooth out the foil gently. This technique reduces wrinkles. Press down lightly, especially around edges. If you notice imperfections, embrace them. They can add character. Sometimes flaws highlight the handmade nature of your work.
Finally, practice makes progress. Try different techniques before your final project. Experiment with layering or mixing materials. This exploration can lead to unexpected creativity. The key is to enjoy the process. Your silver foil crafts should reflect your unique style.
How to Use Silver Foil Paper for Stunning Crafts
| Craft Type |
Materials Needed |
Techniques |
Tips for Best Results |
| Greeting Cards |
Silver foil paper, card stock, adhesive |
Foil stamping, layering |
Use a bone folder to create clean edges. |
| Home Decor |
Silver foil paper, canvas, glue |
Foil application, decoupage |
Seal with mod podge for durability. |
| Jewelry Making |
Silver foil, resin, molds |
Embedding foil in resin |
Use a heat gun for perfect adhesion. |
| Gift Wrapping |
Silver foil paper, ribbon, tape |
Layering different textures |
Combine with matte paper for contrast. |